After moving to a new, larger apartment, I had a problem: the office had a terrible Wi-Fi connection, and the office was so far away from our DSL gateway that laying a long ethernet cable was out of the question. Fortunately, during a trip to the USA, I found something I couldn’t pass up: a TP-Link Archer A71 at Goodwill for a whopping $6.99.
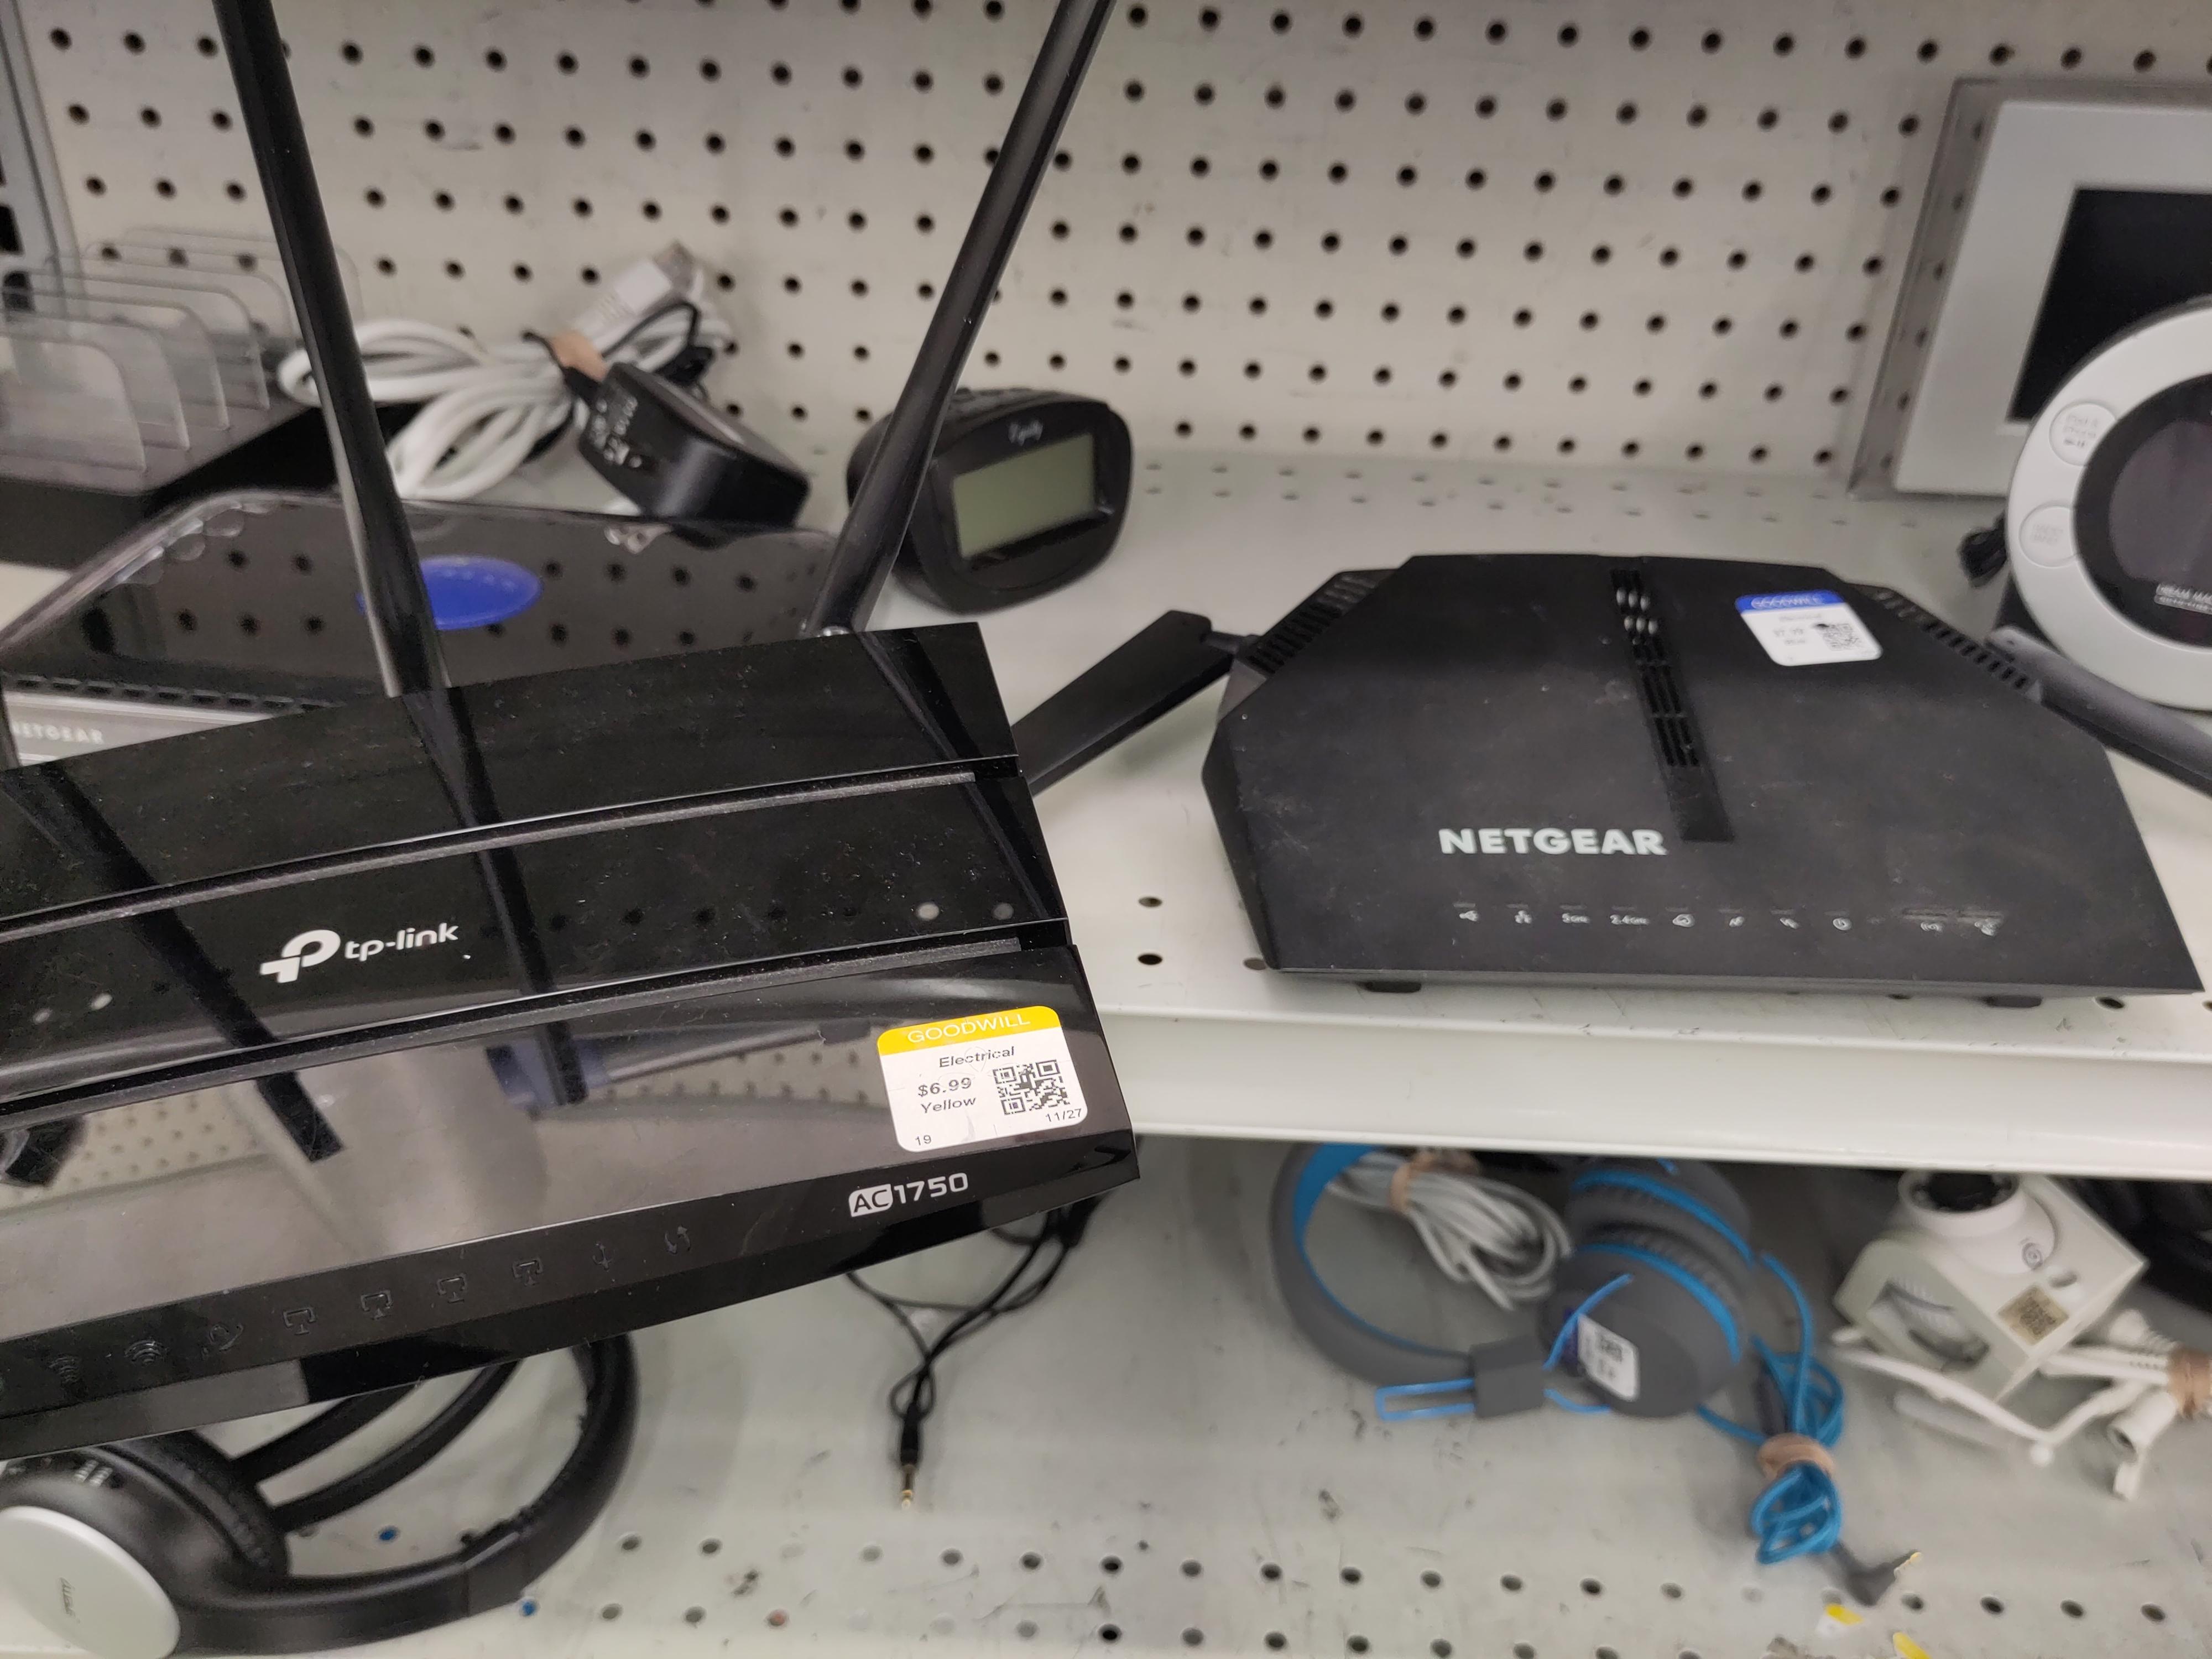
For less than the price of a fast food meal
The router immediately stood out to me, as I have used the extemely similar Archer C7 v5 since 2020. The machines are not only alike in appearance, but also on a hardware-level: both share the QCA956X CPU, 16 MiB flash storage, 128 MiB RAM, and of course the same wireless chipsets. Apparently, the A7 featured IFTTT and Alexa integration, resulting in some minor revisions and necessitation a slightly differnt OpenWRT firmware.
The great question remained, how to bridge the wireless signal from one router to the next. Many older guides on the internet show you how to set up a second router as a client, reconfigure routing/firewall and DHCP, and essentially forward its local traffic to the internet-connected router. Fortunately, wireless standards have advanced to solve this issue: 802.11s allows for manufacturer-independent meshing between wireless devices. I’m not sure if the TP-Link firmware supported it (I immediately replaced it with OpenWRT, for, uh… more reasons than just a preference for FOSS.), but a quick Google search showed that both the wireless chipsets as well as OpenWRT itself support this new-ish protocol.
Enter mesh11sd
There are many ways to set up 802.11s meshing. My first attempt, manually connecting the routers via OpenWRT’s built-in 802.11s networking, failed. I must have overseen something. Another method, called B.A.T.M.A.N. seemed quite overkill. I really wanted a solution that was as reproducible or plug-and-play as possible.
The mesh11sd project makes meshing easy, by automatically detecting roles of different network nodes.
One more thing…
I followed the project’s README to a point, but the wireless configuration kept resetting every couple seconds and the device was under a high load. A quick check with logread yielded the following error message repeatedly:
Unable to autoconfigure. Please install ath10k NON ct drivers for mesh support
Instead of switching driver packages on this already poor overloaded router, I decided to build my own image using the 802.11s Rapid Deployment tutorial from OpenWRT. By building a customized image, it is incredibly easy to just “fire and forget” the mesh deployment.
Because the routers are so similar, I was able to use the same package list and set-up commands for both models of router on the OpenWRT Firmware Selector. I just had to fill the following two options:
Installed packages
base-files ca-bundle dnsmasq dropbear firewall4 fstools kmod-ath9k kmod-gpio-button-hotplug kmod-nft-offload libc libgcc libustream-mbedtls logd mtd netifd nftables odhcp6c odhcpd-ipv6only opkg ppp ppp-mod-pppoe procd-ujail swconfig uboot-envtools uci uclient-fetch urandom-seed urngd wpad-mbedtls kmod-usb2 kmod-usb-ledtrig-usbport kmod-ath10k ath10k-firmware-qca988x luci ip-full kmod-nft-bridge vxlan mesh11sd
Note that the kmod-ath10k-ct package has been dropped for the non-ct version.
Script to run on first boot (uci-defaults)
uci set mesh11sd.setup.auto_config='1'
uci set mesh11sd.setup.auto_mesh_id='kneippmesh'
uci set mesh11sd.setup.mesh_gate_encryption='1'
uci set mesh11sd.setup.mesh_gate_key='correct horse battery staple'
uci set mesh11sd.setup.ssid_suffix_enable='0'
uci commit mesh11sd
These configuration commands simply tell mesh11sd to automatically configure the router to connect on a mesh network called kneippmesh using WPA3 encryption (confusingly, option 1) and the given password.
Notably, mesh11sd automatically renames your wireless SSIDs using a prefix, e.g. <ssid>_<freq>_<id>, which I found to be a bit annoying, and thus disabled. Especially for my non-technical friends, I just want one good Wi-Fi to connect to.
That’s all, Folks!
After flashing a customized image, you simply need to configure the OpenWRT router as you see fit, i.e. choose a Wi-Fi name and password. mesh11sd takes care of the rest; it figures out which devices are connected to the upstream WAN and which IP Addresses to assign to what client.
I optionally set-up 802.11r (“fast transition”) to help a device moving through my apartment connect to the best AP, but even that is optional. I now have (to the best of my knowledge) fast and secure Wi-Fi in my office :)
The router was released in 2018, meaning it is now quite out-of-date: there’s no 802.11ax support, the flash is kinda small, but it still holds up quite well if you just want a home WLAN. ↩︎